Checking Nails, Fixings and Power Before Floor Sanding Starts
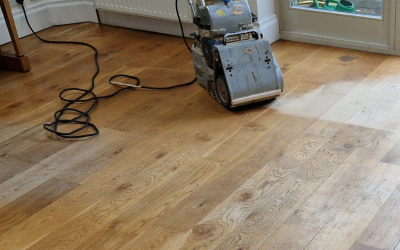
Floor sanding can make a room look brand new – but only if the prep is done properly. This Floor Sanding Preparation Checklist: Furniture, Nails, Power is written for UK homeowners and property managers who want a smooth, stress-free job, whether you’re doing it yourself or booking professionals like Refinish Wood Floors.
Refinish Wood Floors works across London and the Home Counties, restoring everything from pine boards to parquet with dust-controlled machines and expert repairs. (Refinish Wood Floors)
Below you’ll find a practical, step-by-step checklist covering:
- Furniture and room clearance
- Nails, screws, staples and loose boards
- Power and electrics for sanding machines
- Dust control, safety and access
- A quick printable checklist at the end
You can follow this guide yourself – or use it as a briefing document before booking wood floor refinishing services.
Why Proper Floor Sanding Preparation Matters
Good preparation:
- Protects your sanding machine (and your wallet) from nails, screws and hidden metal
- Reduces dust and disruption for the rest of the house
- Helps you get a flatter, more even finish
- Cuts down on delays on the day of sanding
Professionals like Refinish Wood Floors build detailed preparation into every project – from checking the boards and subfloor to choosing the right finishes for how the room will actually be used.
Think of this checklist as everything a good floor sanding team would secretly love you to do before they arrive.
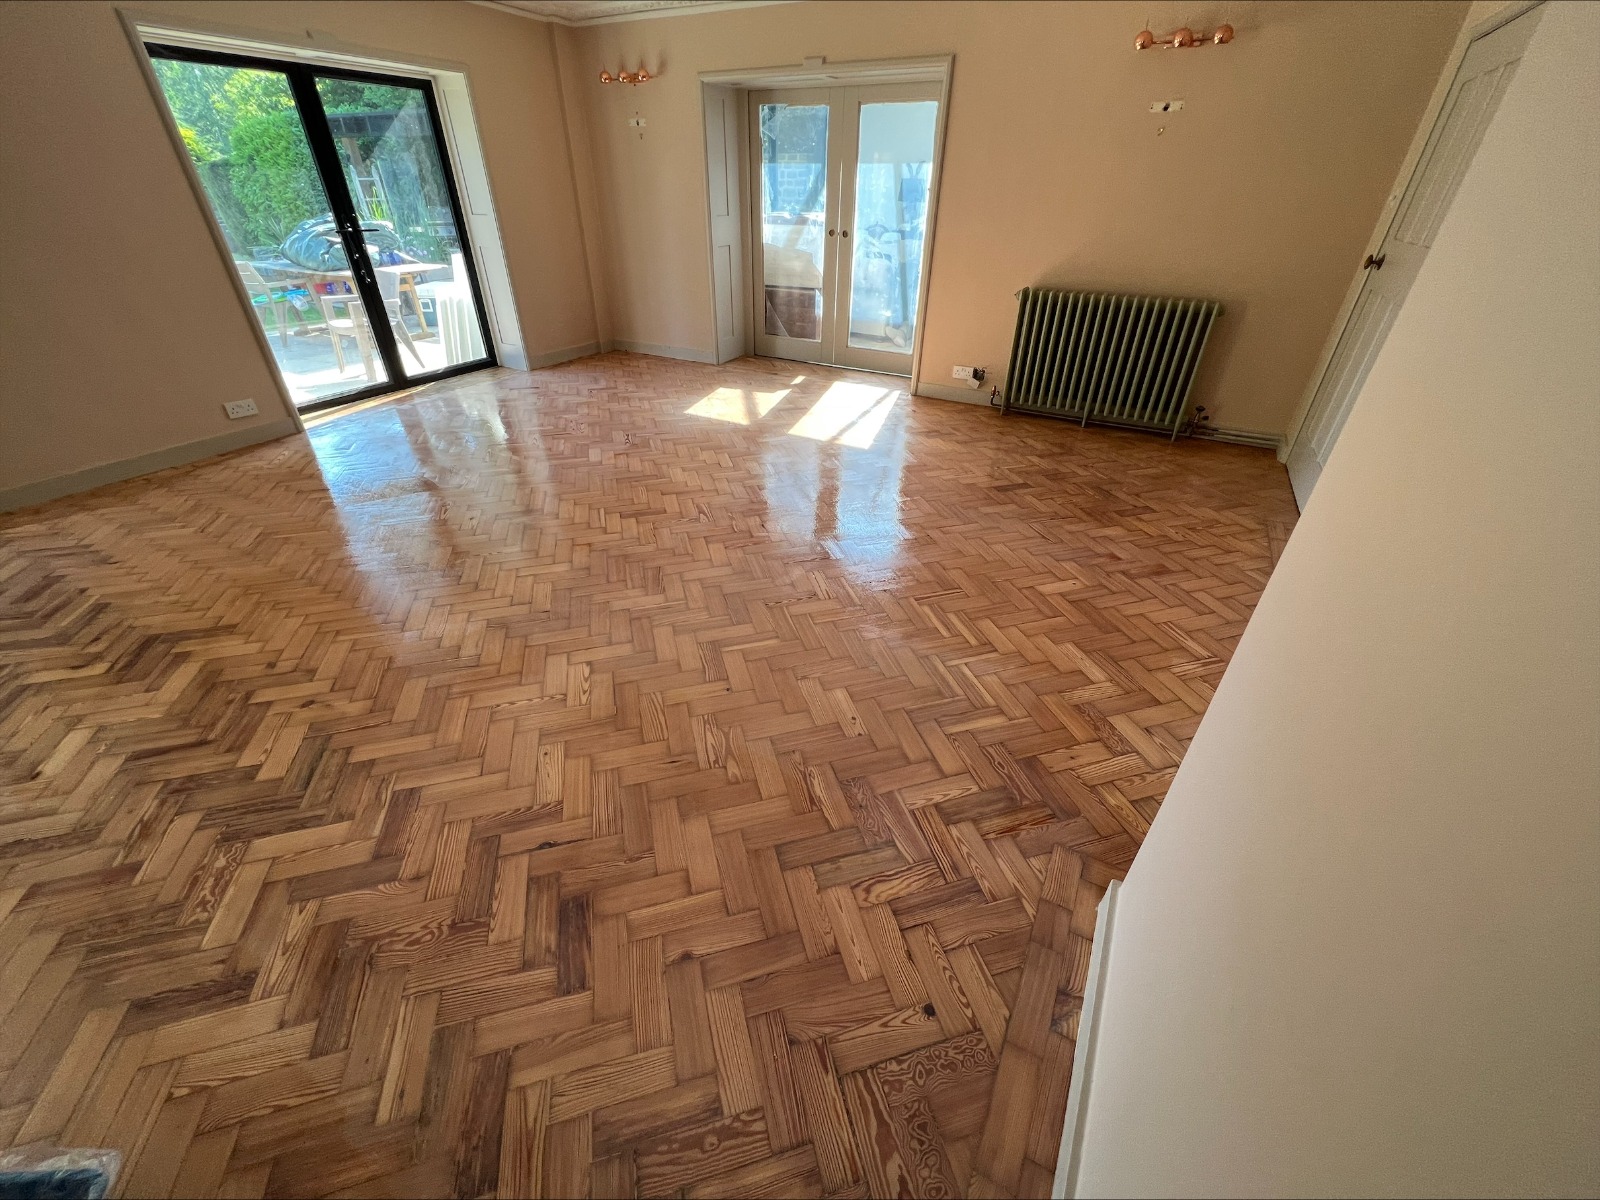
Step 1: Assess the Room Before You Touch the Furniture
Before you start dragging wardrobes around, spend ten minutes just looking.
1.1 Walk the Floor Slowly
- Walk the entire room in bare feet or socks.
- Notice where boards move, creak or feel bouncy.
- Check for soft spots (possible damp or rot).
- Pay attention to any sharp edges or protruding nail heads.
Make a note of any areas that feel particularly uneven or damaged – these are likely to need repairs as part of your wood floor restoration rather than simple sanding.
1.2 Identify Floor Type and Pattern
Knowing what you have helps you (and your contractor) choose the right sanding approach and finishes:
- Original pine floorboards – common in Victorian/Edwardian homes, softer and more prone to dents.
- Hardwood boards (oak, beech, walnut, etc.) – tougher and heavier; ideal for durable refinishing.
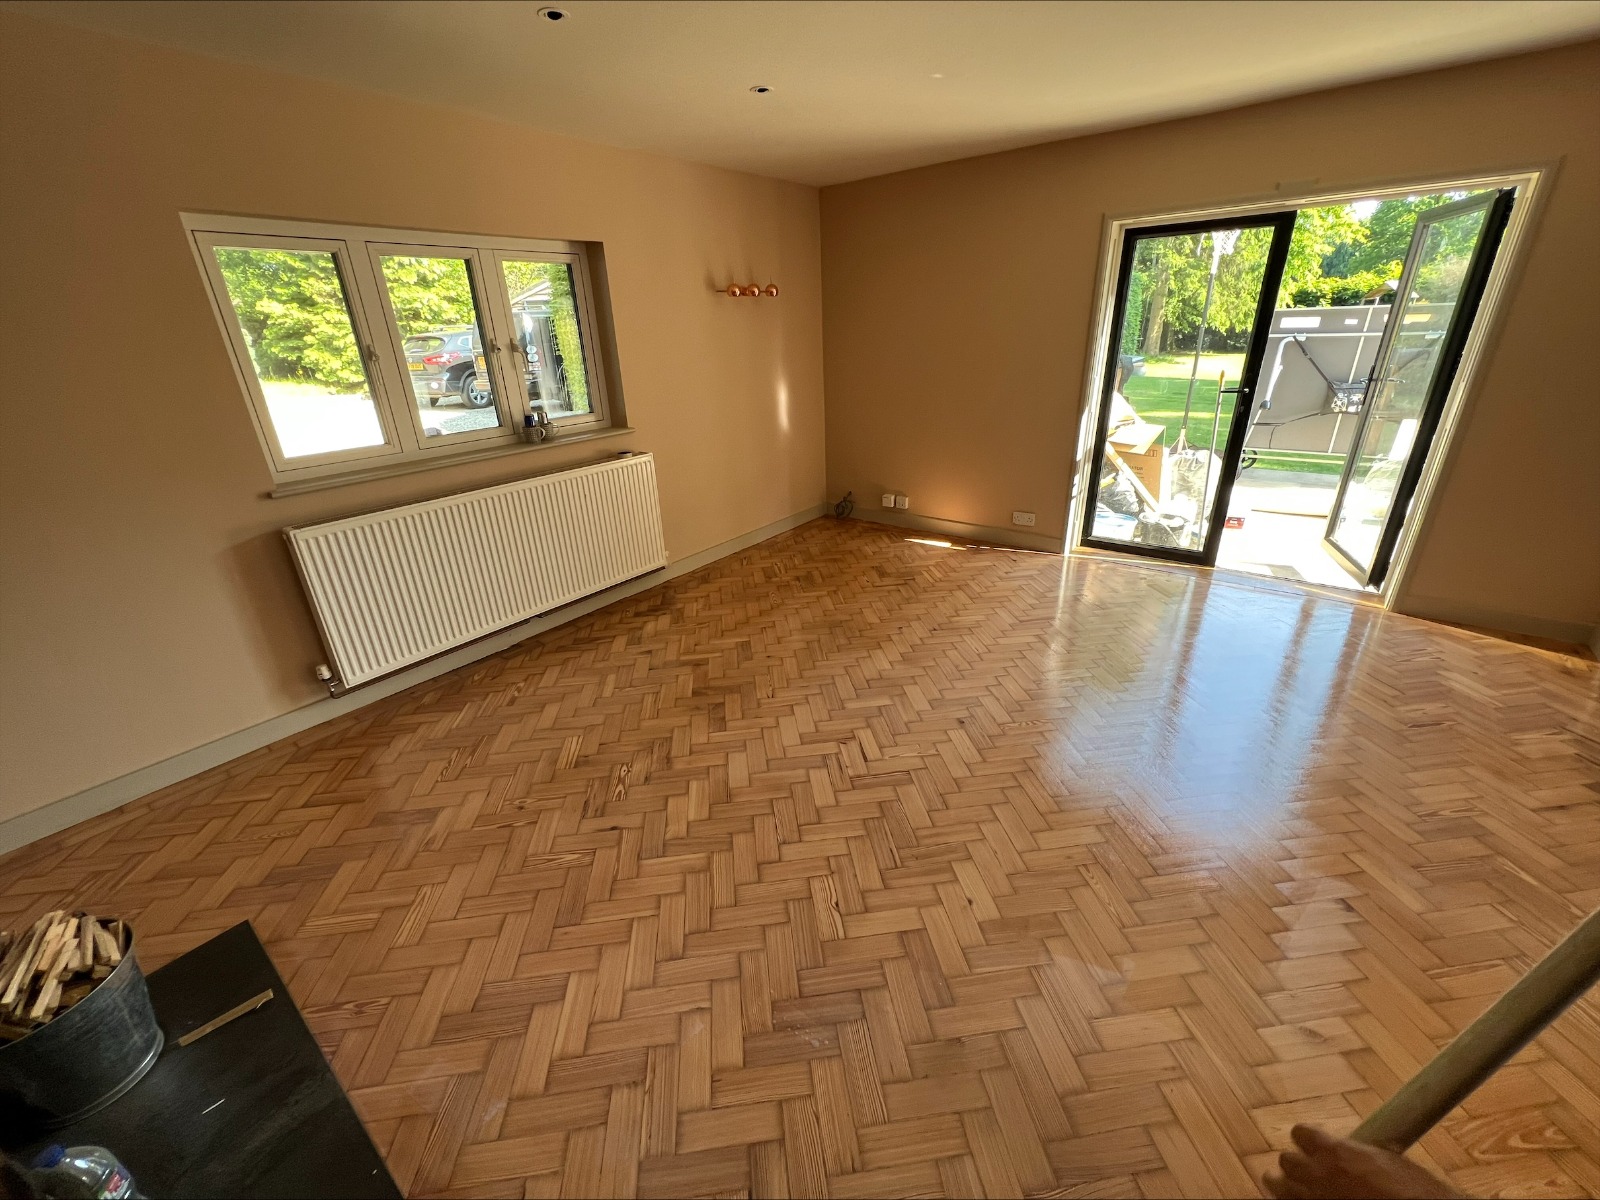
- Parquet blocks (herringbone, basket weave, mosaic) – need careful sanding along the pattern, and often benefit from specialist gap filling.
- Engineered wood – can only be sanded a limited number of times; the wear layer thickness matters.
Make a quick sketch of the room, marking any problem areas. This will be useful if you decide to contact Refinish Wood Floors for a quote.
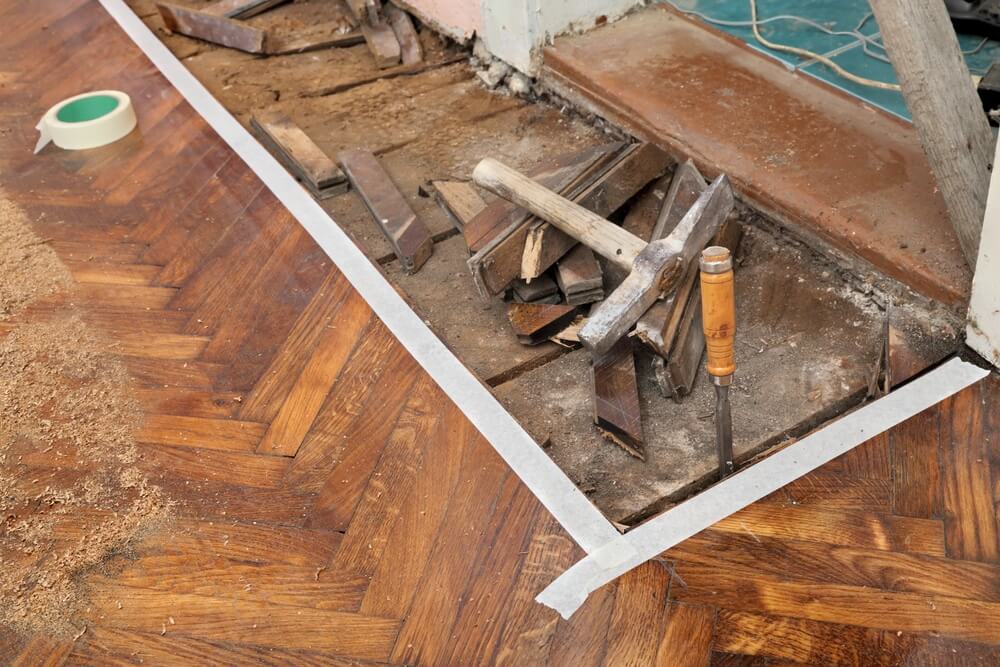
Step 2: Furniture and Belongings – Clear, Stack or Protect
The golden rule: the more you clear, the better the finish.
2.1 Ideally – Empty the Room Completely
For the best results, the room should be totally clear of:
- Sofas, tables, chairs
- Sideboards and console tables
- Rugs and mats
- Freestanding shelves and bookcases
- Floor lamps, plant stands, toy boxes
If you’ve booked professional floor sanding and the team arrive to a nearly empty room, they can start sanding far more quickly – and spend their time on the floor itself, not on moving furniture.
Top tips:
- Use felt sliders or old blankets under heavy pieces to avoid gouging the boards when moving them.
- Label boxes by room so you can put everything back without guesswork.
- Take photos before you move everything – handy for repositioning furniture and rugs later.
2.2 When You Can’t Remove Big Furniture
Some items (e.g. huge wardrobes, built-in units, pianos) may be impossible to move easily. In that case:
- Push larger items to one side of the room.
- Sand one half of the floor.
- Move the furniture onto the finished half (on protective pads).
- Sand the remaining half.
This two-stage approach is slower but sometimes unavoidable in small London flats or rooms with very large pieces.
2.3 Clear Everything Fragile and Dust-Sensitive
Even with modern dust-control systems, floor sanding is still a dusty job.
Remove or carefully cover:
- Electronics (TVs, sound systems, consoles, PCs)
- Books, ornaments, art and photo frames
- Curtains trailing on the floor – pin or tie them up if you can’t remove them
- Clothing stored near floor level
Use proper dust sheets or clean cotton sheets and tape them securely at the edges.

Step 3: Nails, Screws, Staples and Hidden Metal
This is the part that can save hundreds of pounds in damage to sanding belts and drums.
3.1 Find Every Bit of Metal You Can
- Use a bright torch and inspect the floor in rows.
- Look closely at board edges where old carpet gripper rods might have been.
- Check thresholds, radiator pipes and areas around old hearths.
If you have one, a stud/metal detector can be helpful for spotting hidden screws or old tacks.
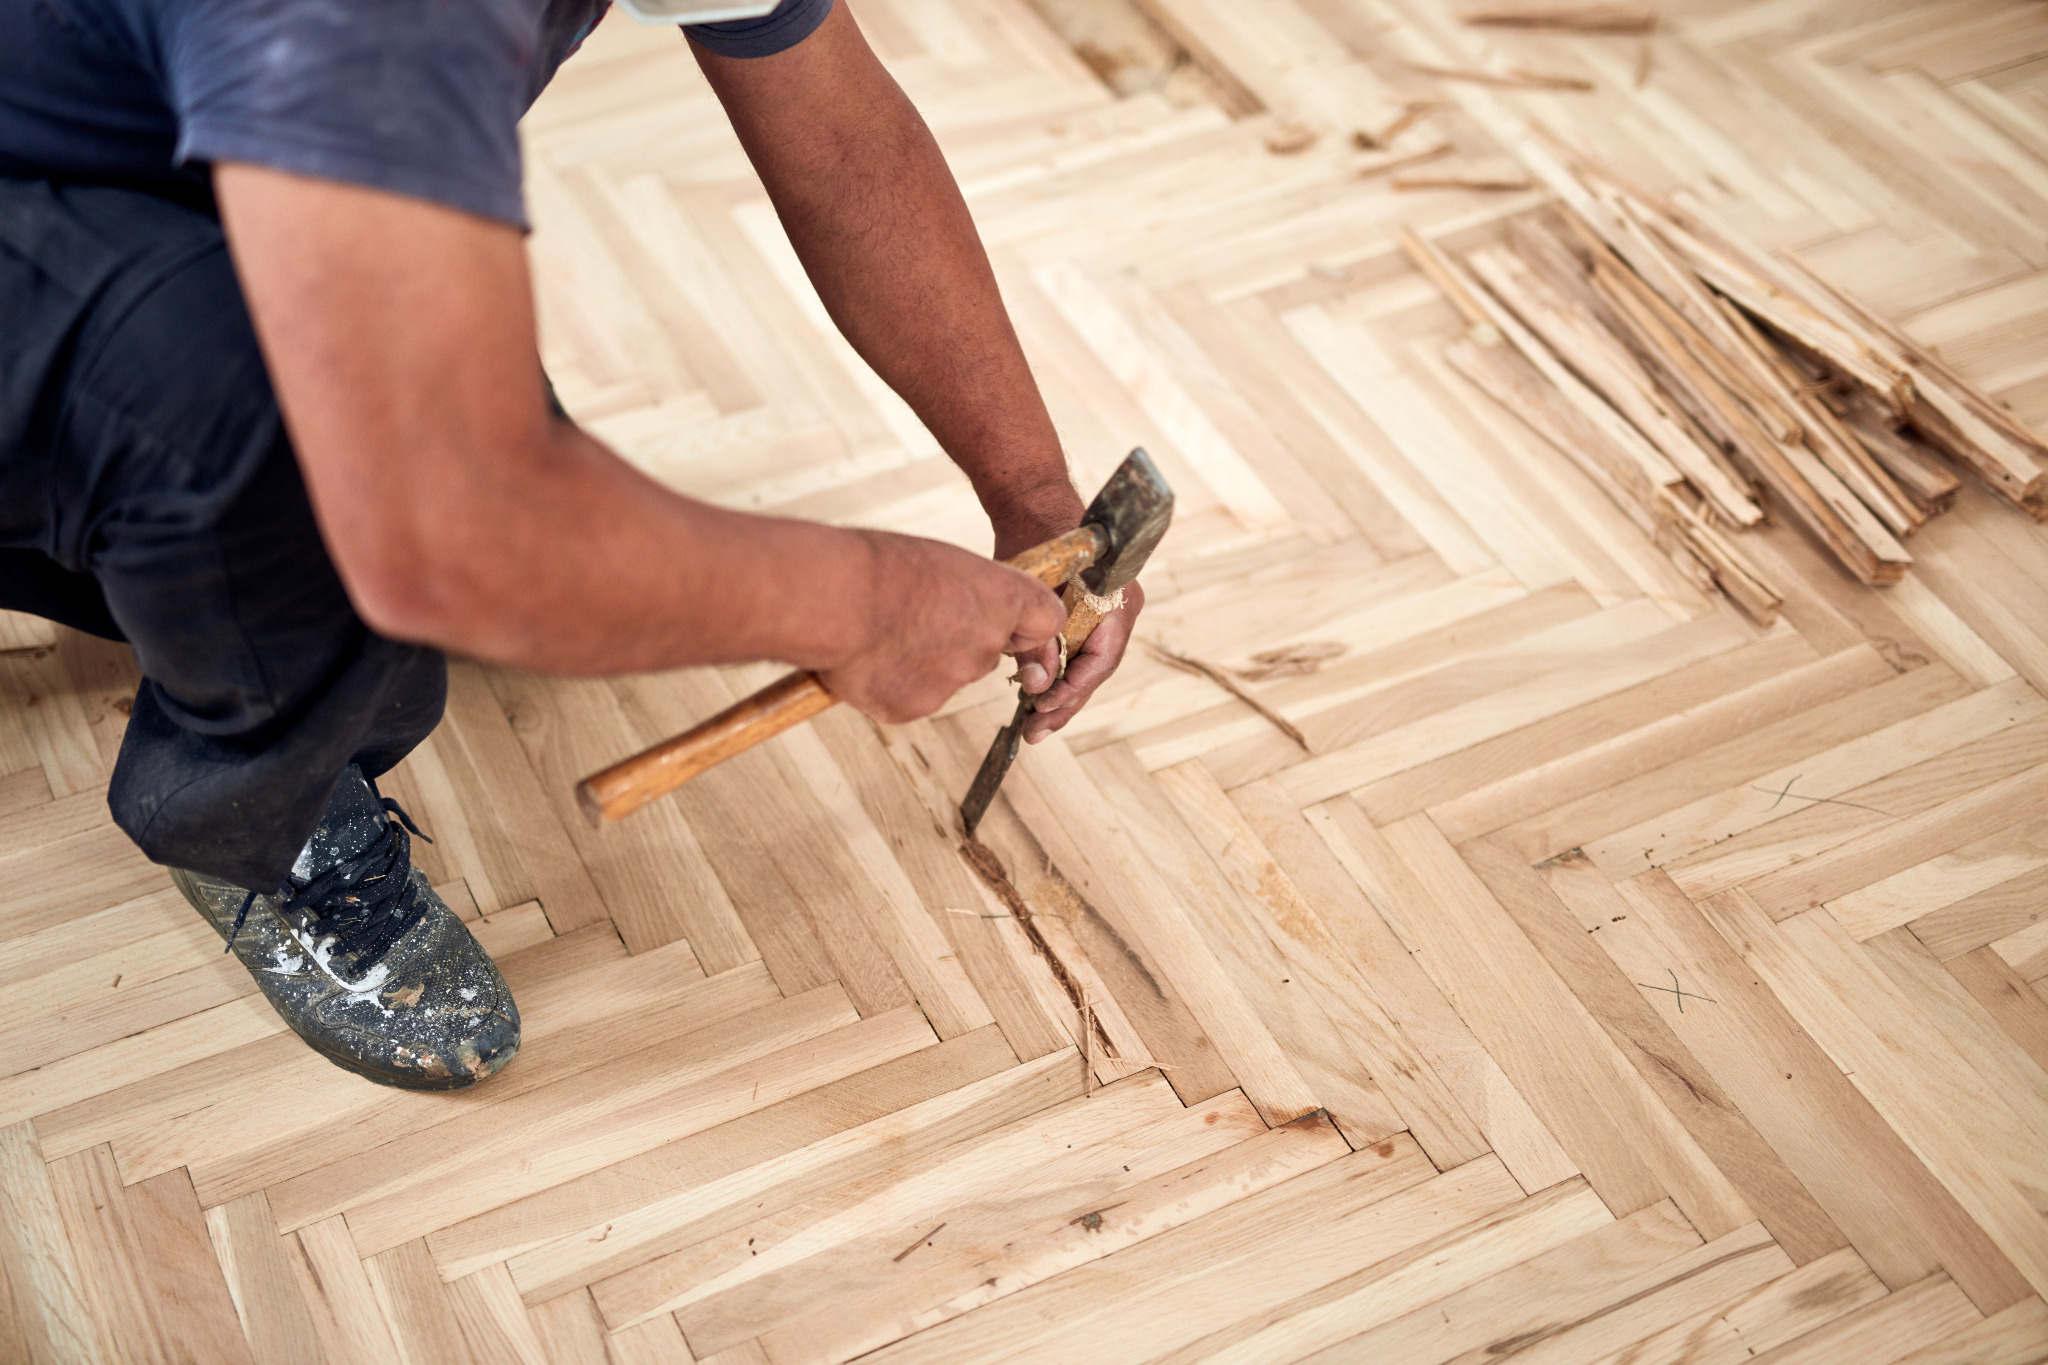
3.2 Hammer Down or Remove Protruding Nails
Nails sticking above the surface will tear the abrasive and can leave black scorch marks in the wood.
- For nails that are mostly level, use a nail punch to drive the head 1–2 mm below the surface.
- For badly bent or rusted nails, pull them out with pincers and fill the holes later.
- Check all board ends – protruding nails are especially common there.
Professionals will always remove old tacks and hammer protruding nails flat as part of their repair work before sanding.
3.3 Remove Staples and Old Gripper Rods
If the room used to be carpeted:
- Carefully lever up old gripper rods with a pry bar.
- Remove every staple you can see – they blunt sanding belts in seconds.
- Vacuum thoroughly afterwards to get rid of splinters and dust.
It’s tedious work, but this stage is essential preparation for smooth, efficient floor refinishing.
Step 4: Power, Electrics and Cables
Floor sanders are powerful machines. Whether you’re hiring one or bringing in a professional team, safe, reliable power is non-negotiable.
4.1 Check the Circuit Capacity
Most domestic sanding machines used in UK homes run from a standard 230V supply, but they can draw a high load, especially when combined with a vacuum.
- Avoid running other heavy appliances (tumble dryer, heater, kettle) on the same circuit.
- Make sure the consumer unit is accessible in case a breaker trips.
- If in doubt, ask your sanding company for the power requirements of their machines before the job date.
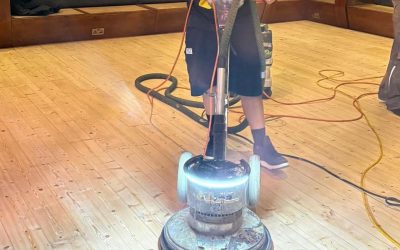
Companies like Refinish Wood Floors use modern cylinder sanding machines designed for domestic and commercial settings, but you still need an adequate, safe supply.
4.2 Plan Where to Plug In
- Identify the closest sockets to the room being sanded.
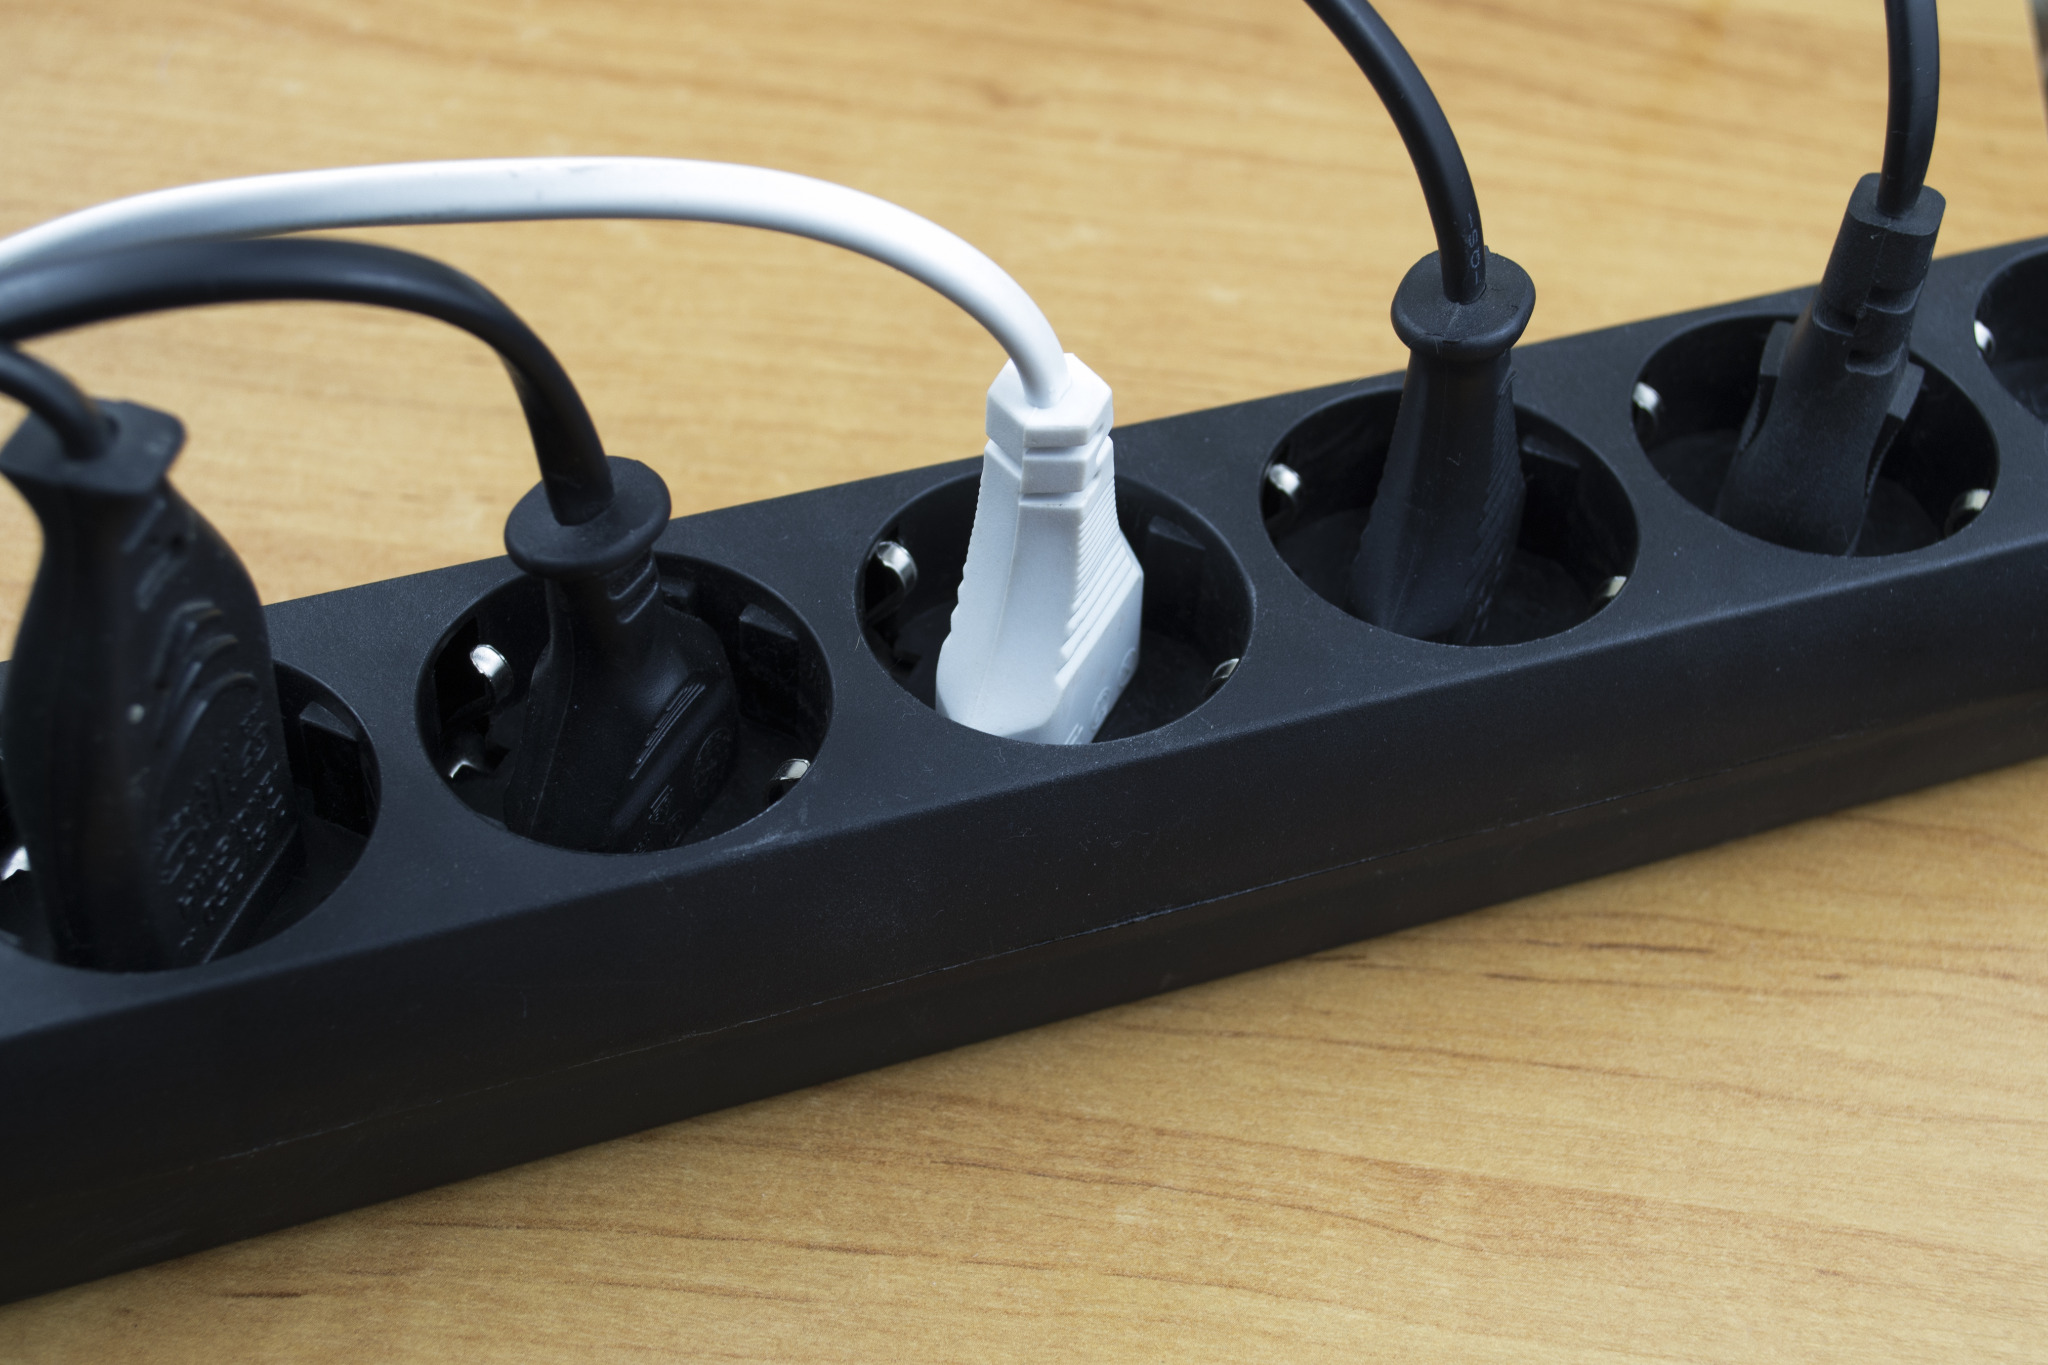
- Avoid cheap, overloaded multi-way adaptors – use good-quality extension reels if needed.
- Keep cables away from water sources and doorways where possible.
If you’re in a flat, confirm with your neighbour (or managing agent) that no one is relying on a shared circuit for something critical (like server equipment) during the sanding times.
4.3 Tidy and Tape Cables
- Run cables along walls rather than across open areas.
- Tape them down in doorways to prevent trips.
- Label each plug so you know which is the sander, which is the vacuum, and which is the lighting.
Step 5: Dust Control, Doors and Safety
Even with “dustless” or dust-controlled systems, there will always be some fine dust. Good prep keeps it where it belongs.
5.1 Seal Off Adjoining Rooms
- Close internal doors and seal gaps with masking tape if possible.
- Use zipped plastic screening for open-plan spaces where you can’t close a standard door.
- Cover vents and grilles in adjoining rooms temporarily (and remember to uncover them afterwards).
5.2 Protect Skirting, Radiators and Built-Ins
- Use low-tack masking tape along the bottom of skirting boards if they are freshly painted.
- Cover radiators, fireplaces and built-in furniture with dust sheets.
- If you’re planning to repaint the skirting after sanding, minor scuffs from the machine are less of a concern.
5.3 Think About People and Pets
During sanding and sealing:
- Keep children and pets out of the work area completely.
- Consider staying with friends or family for major jobs, especially if multiple rooms are being done.
- Make sure there’s a clear, safe path from the front door to the workroom for the team and their kit.
Companies offering professional wood floor refinishing will usually advise you on drying times and when it’s safe to walk on or replace furniture.
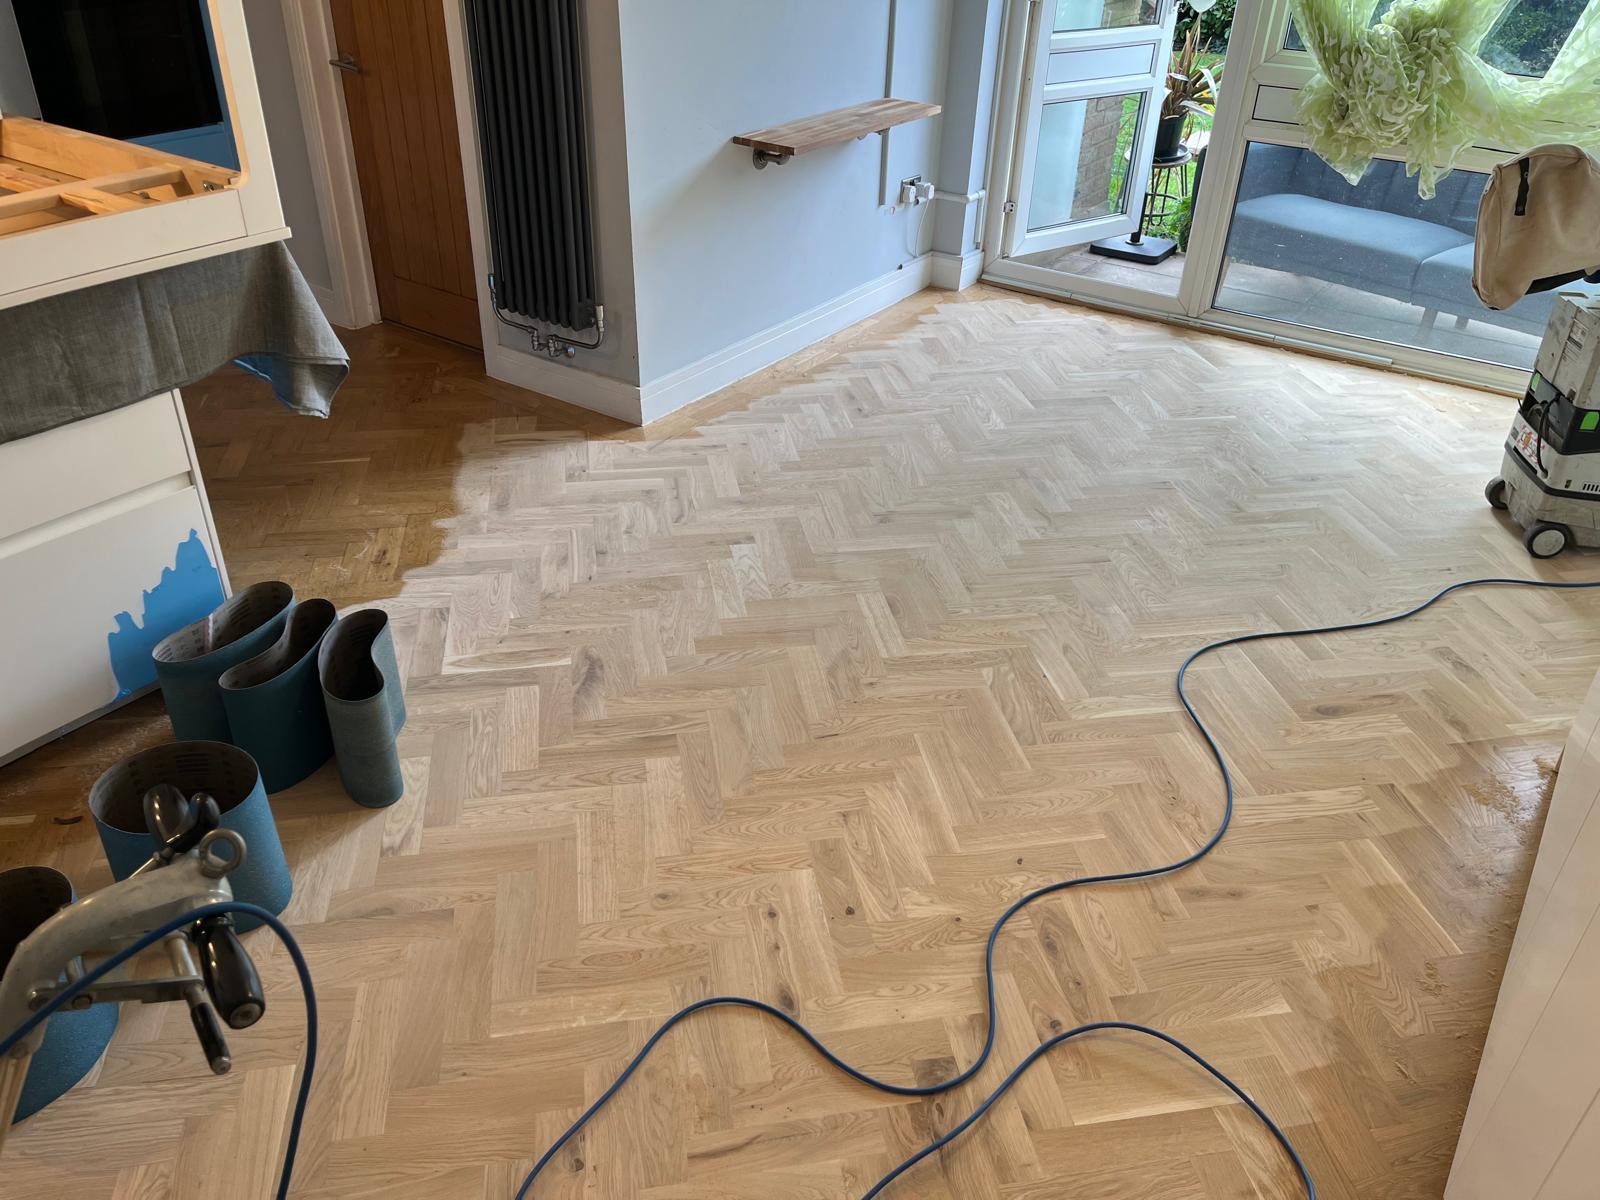
Step 6: Repairs, Gap Filling and Subfloor Issues
Sanding alone doesn’t fix structural problems. This stage is about making sure the floor is worth sanding.
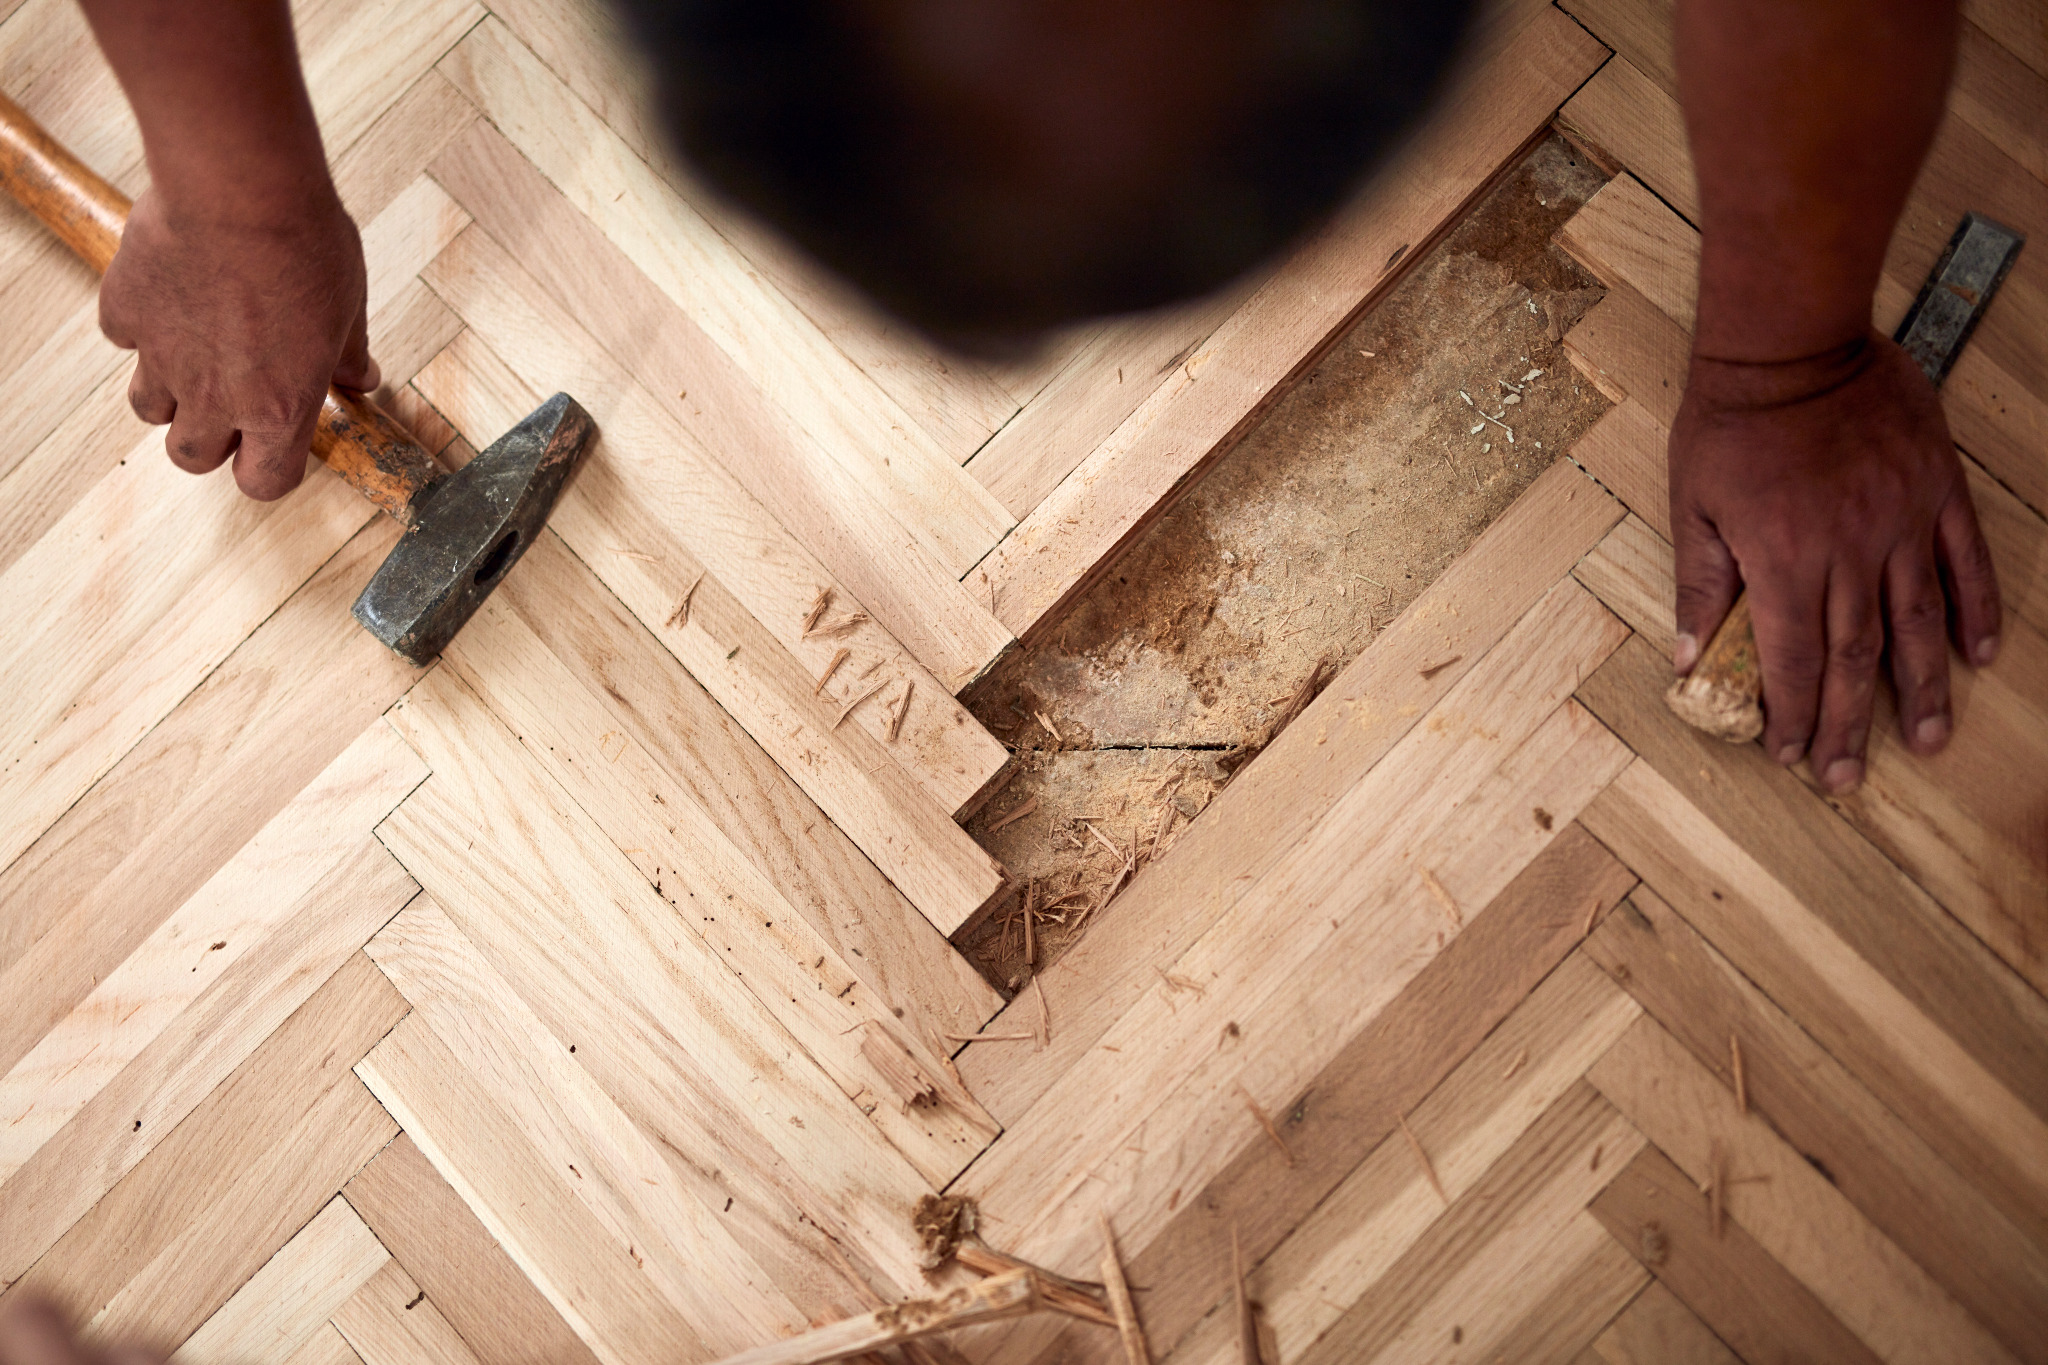
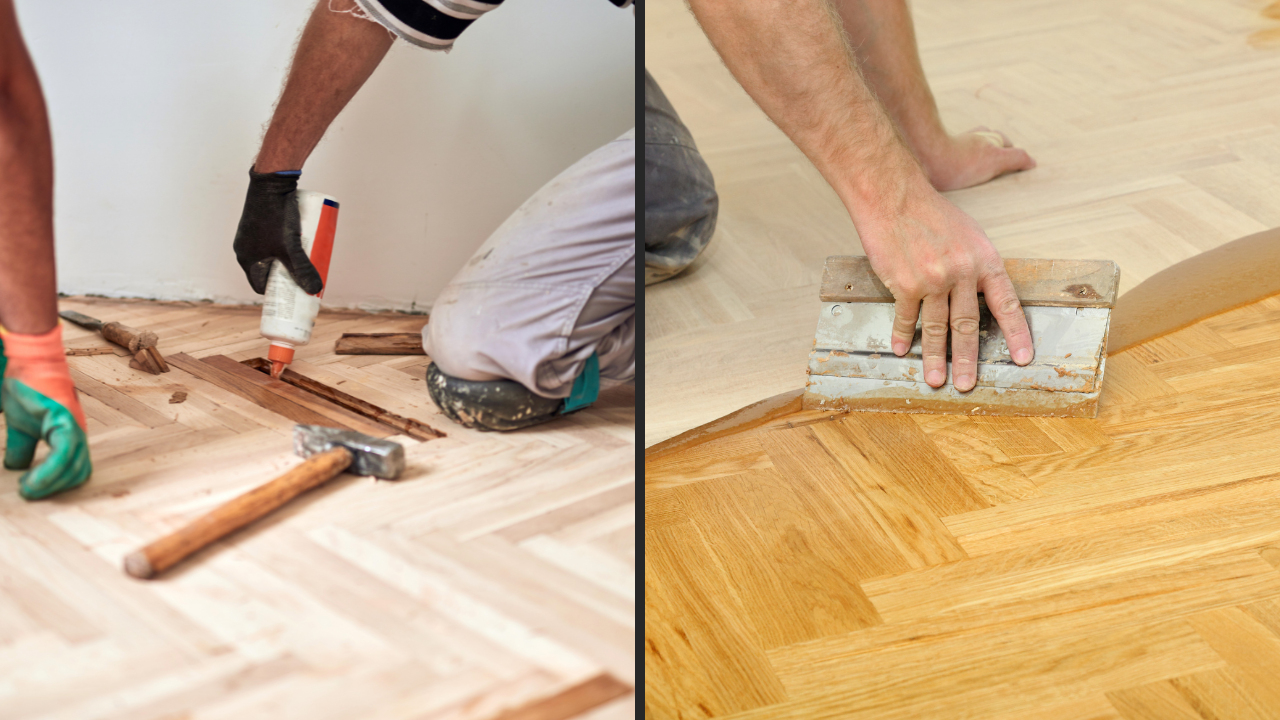
6.1 Tighten Loose Boards and Blocks
- Listen for squeaks and creaks – they usually indicate movement.
- For timber boards, extra fixings into joists may be needed.
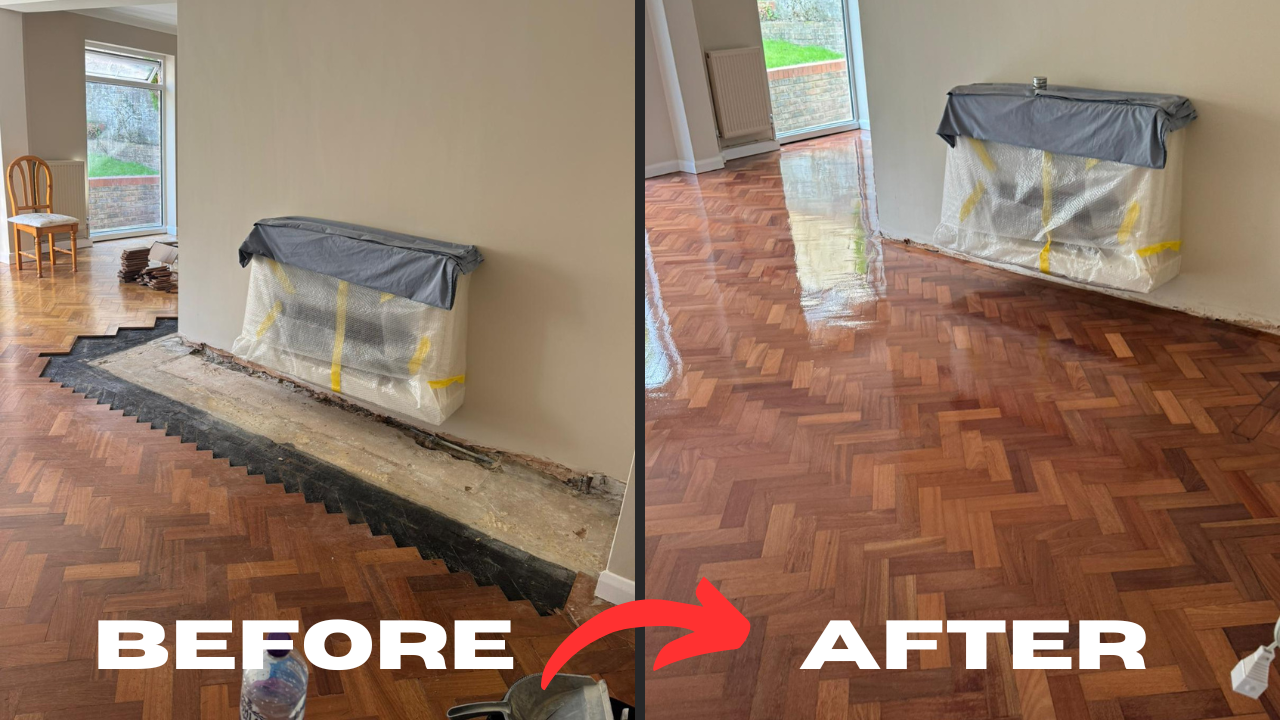
- For parquet blocks that rock or move, specialist adhesives and repairs are required before sanding.
Refinish Wood Floors will check every block and board, replacing any that are damaged beyond repair and resetting loose boards before sanding.
6.2 Decide on Gap Filling
Gap filling is partly cosmetic and partly practical:
- Benefits:
- Warmer rooms with fewer draughts (especially on ground floors).
- Less dust and crumbs collecting between boards.
- A tidier, more “finished” look.
- Common methods:
- Resin mixed with sanding dust – ideal for lots of fine gaps (parquet, mosaic).
- Wood slivers/fillets – strips of reclaimed timber glued into larger gaps, then sanded flat.
Discuss gap filling with your sanding company before the job starts so it can be built into the schedule and quote.
6.3 Check for Damp and Old Hearths
- Use your nose – musty smells or dark staining may indicate damp.
- Old concrete hearths, bitumen or “Victorian” black wax residues need specialist removal before finishing.
If you have doubts, it’s safer to have a professional assessment before committing to DIY sanding.
Step 7: Plan Access, Parking and Timings
Good logistics mean fewer delays and a better result.
7.1 Parking and Building Access
If you’re in London or other busy areas:
- Arrange visitor parking or permits for your sanding team.
- If there’s no parking nearby, let them know in advance so they can plan for carrying machines.
- Reserve lifts or loading bays in flats or managed buildings where possible.
7.2 Keys and Alarms
- Decide who will be on site to let the team in and out.
- If you can’t be there, arrange key collection with a neighbour or concierge.
- Talk through alarm systems, entry codes and any security doors.
7.3 Agree the Schedule
A typical sequence for floor sanding and refinishing is:
- Repairs and preparation (nails, gap filling, board replacement).
- Coarse, medium and fine sanding passes.
- Staining (if chosen).
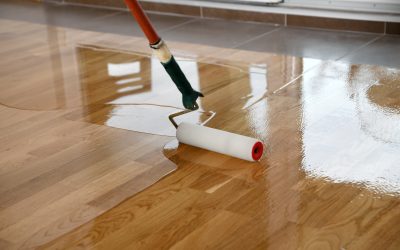
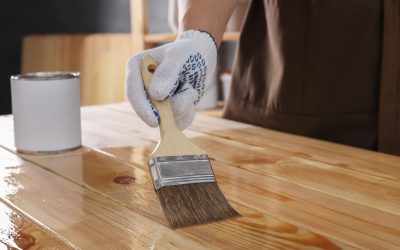
- Sealing with lacquer, hard wax oil or natural oil.
- Drying and curing time before light foot traffic and then full furniture move-in.
Ask your chosen company how many days they’ll need, and when you can:
- Walk on the floor in socks
- Bring furniture back
- Start cleaning as normal
Conclusion
Sanding a floor well is a skill. Hiring a machine and “having a go” can seem cheaper, but mistakes like uneven sanding, swirl marks, drum digs and poor finish application are often more expensive to fix later than doing it properly first time. (Refinish Wood Floors)
Choose a professional floor refinishing service when:
- The floor is valuable (original parquet, antique boards, hardwood).
- There are serious gaps, loose blocks or signs of damp.
- You need a hard-wearing finish for busy family rooms or commercial spaces.
- You don’t have the time, tools or confidence to tackle it yourself.
Refinish Wood Floors has more than 30 years’ experience, working across London and the Home Counties with dust-controlled sanding, expert repairs, gap filling, staining and durable sealing options. (Refinish Wood Floors)
If you’d like help turning this Floor Sanding Preparation Checklist: Furniture, Nails, Power into a real-world transformation, you can:
- Visit the website: https://refinishwoodfloors.co.uk/
- Request a quote or callback: Request a Callback.
- Call directly on 020 3151 3757 for free advice and a no-obligation assessment.
Get the preparation right, and your newly sanded floor won’t just look better – it will stay beautiful, hard-wearing and easy to maintain for years to come.