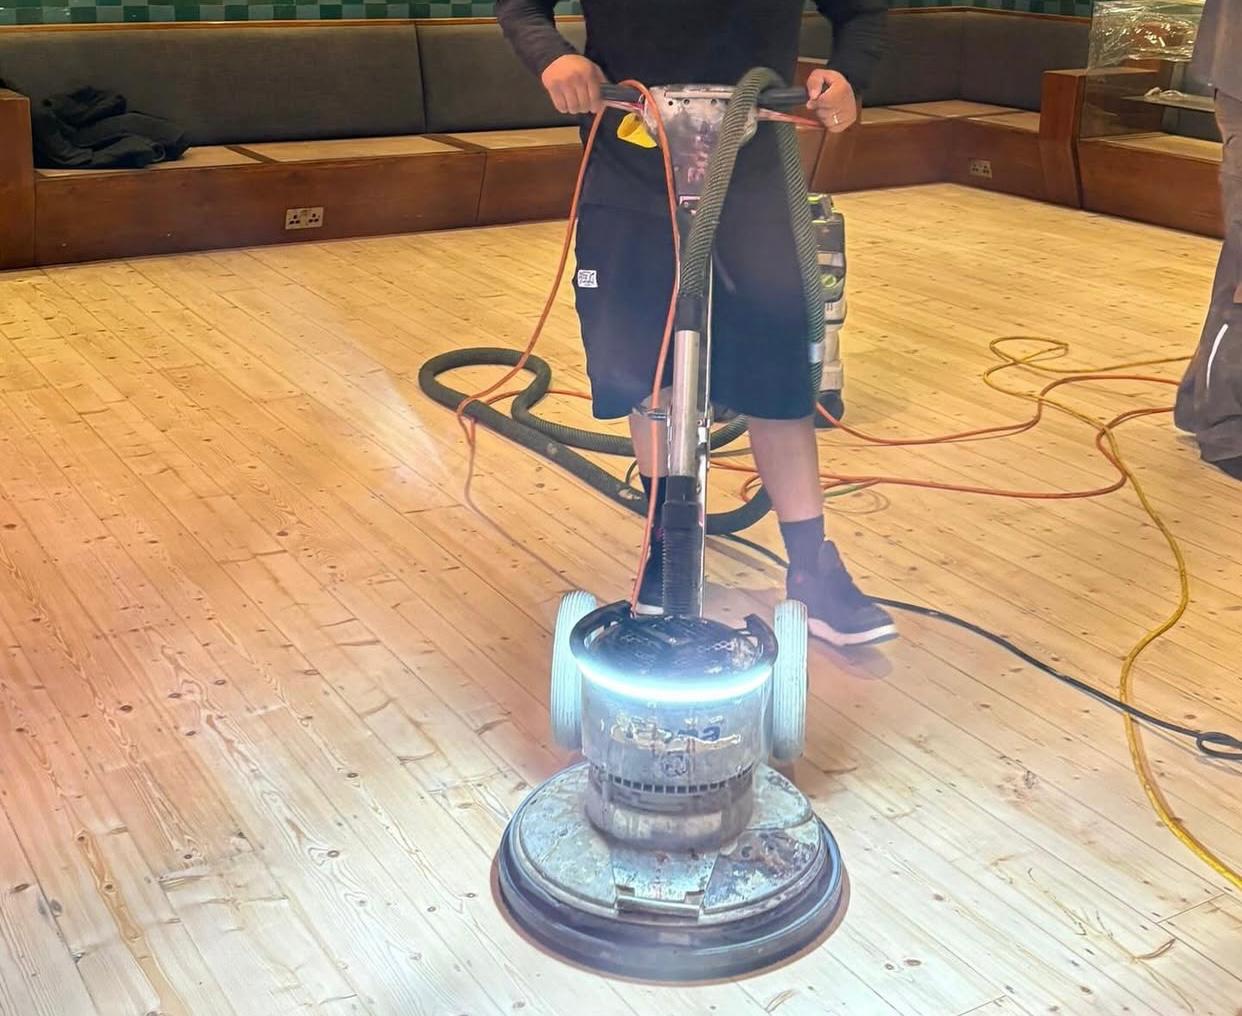
Preparing Your Space and Boards for Sanding Success
Few home-improvement projects are as immediately transformative as a freshly restored timber floor. The lustre of clean grain and the warm depth of natural colour can lift a whole room, adding both aesthetic and monetary value. Yet for many first-time DIY enthusiasts, the prospect of undertaking Wood Floor Sanding feels daunting. This guide demystifies the craft, walking you through every stage – from understanding your boards to laying down the final coat of finish – so you can approach the task with confidence and skill.
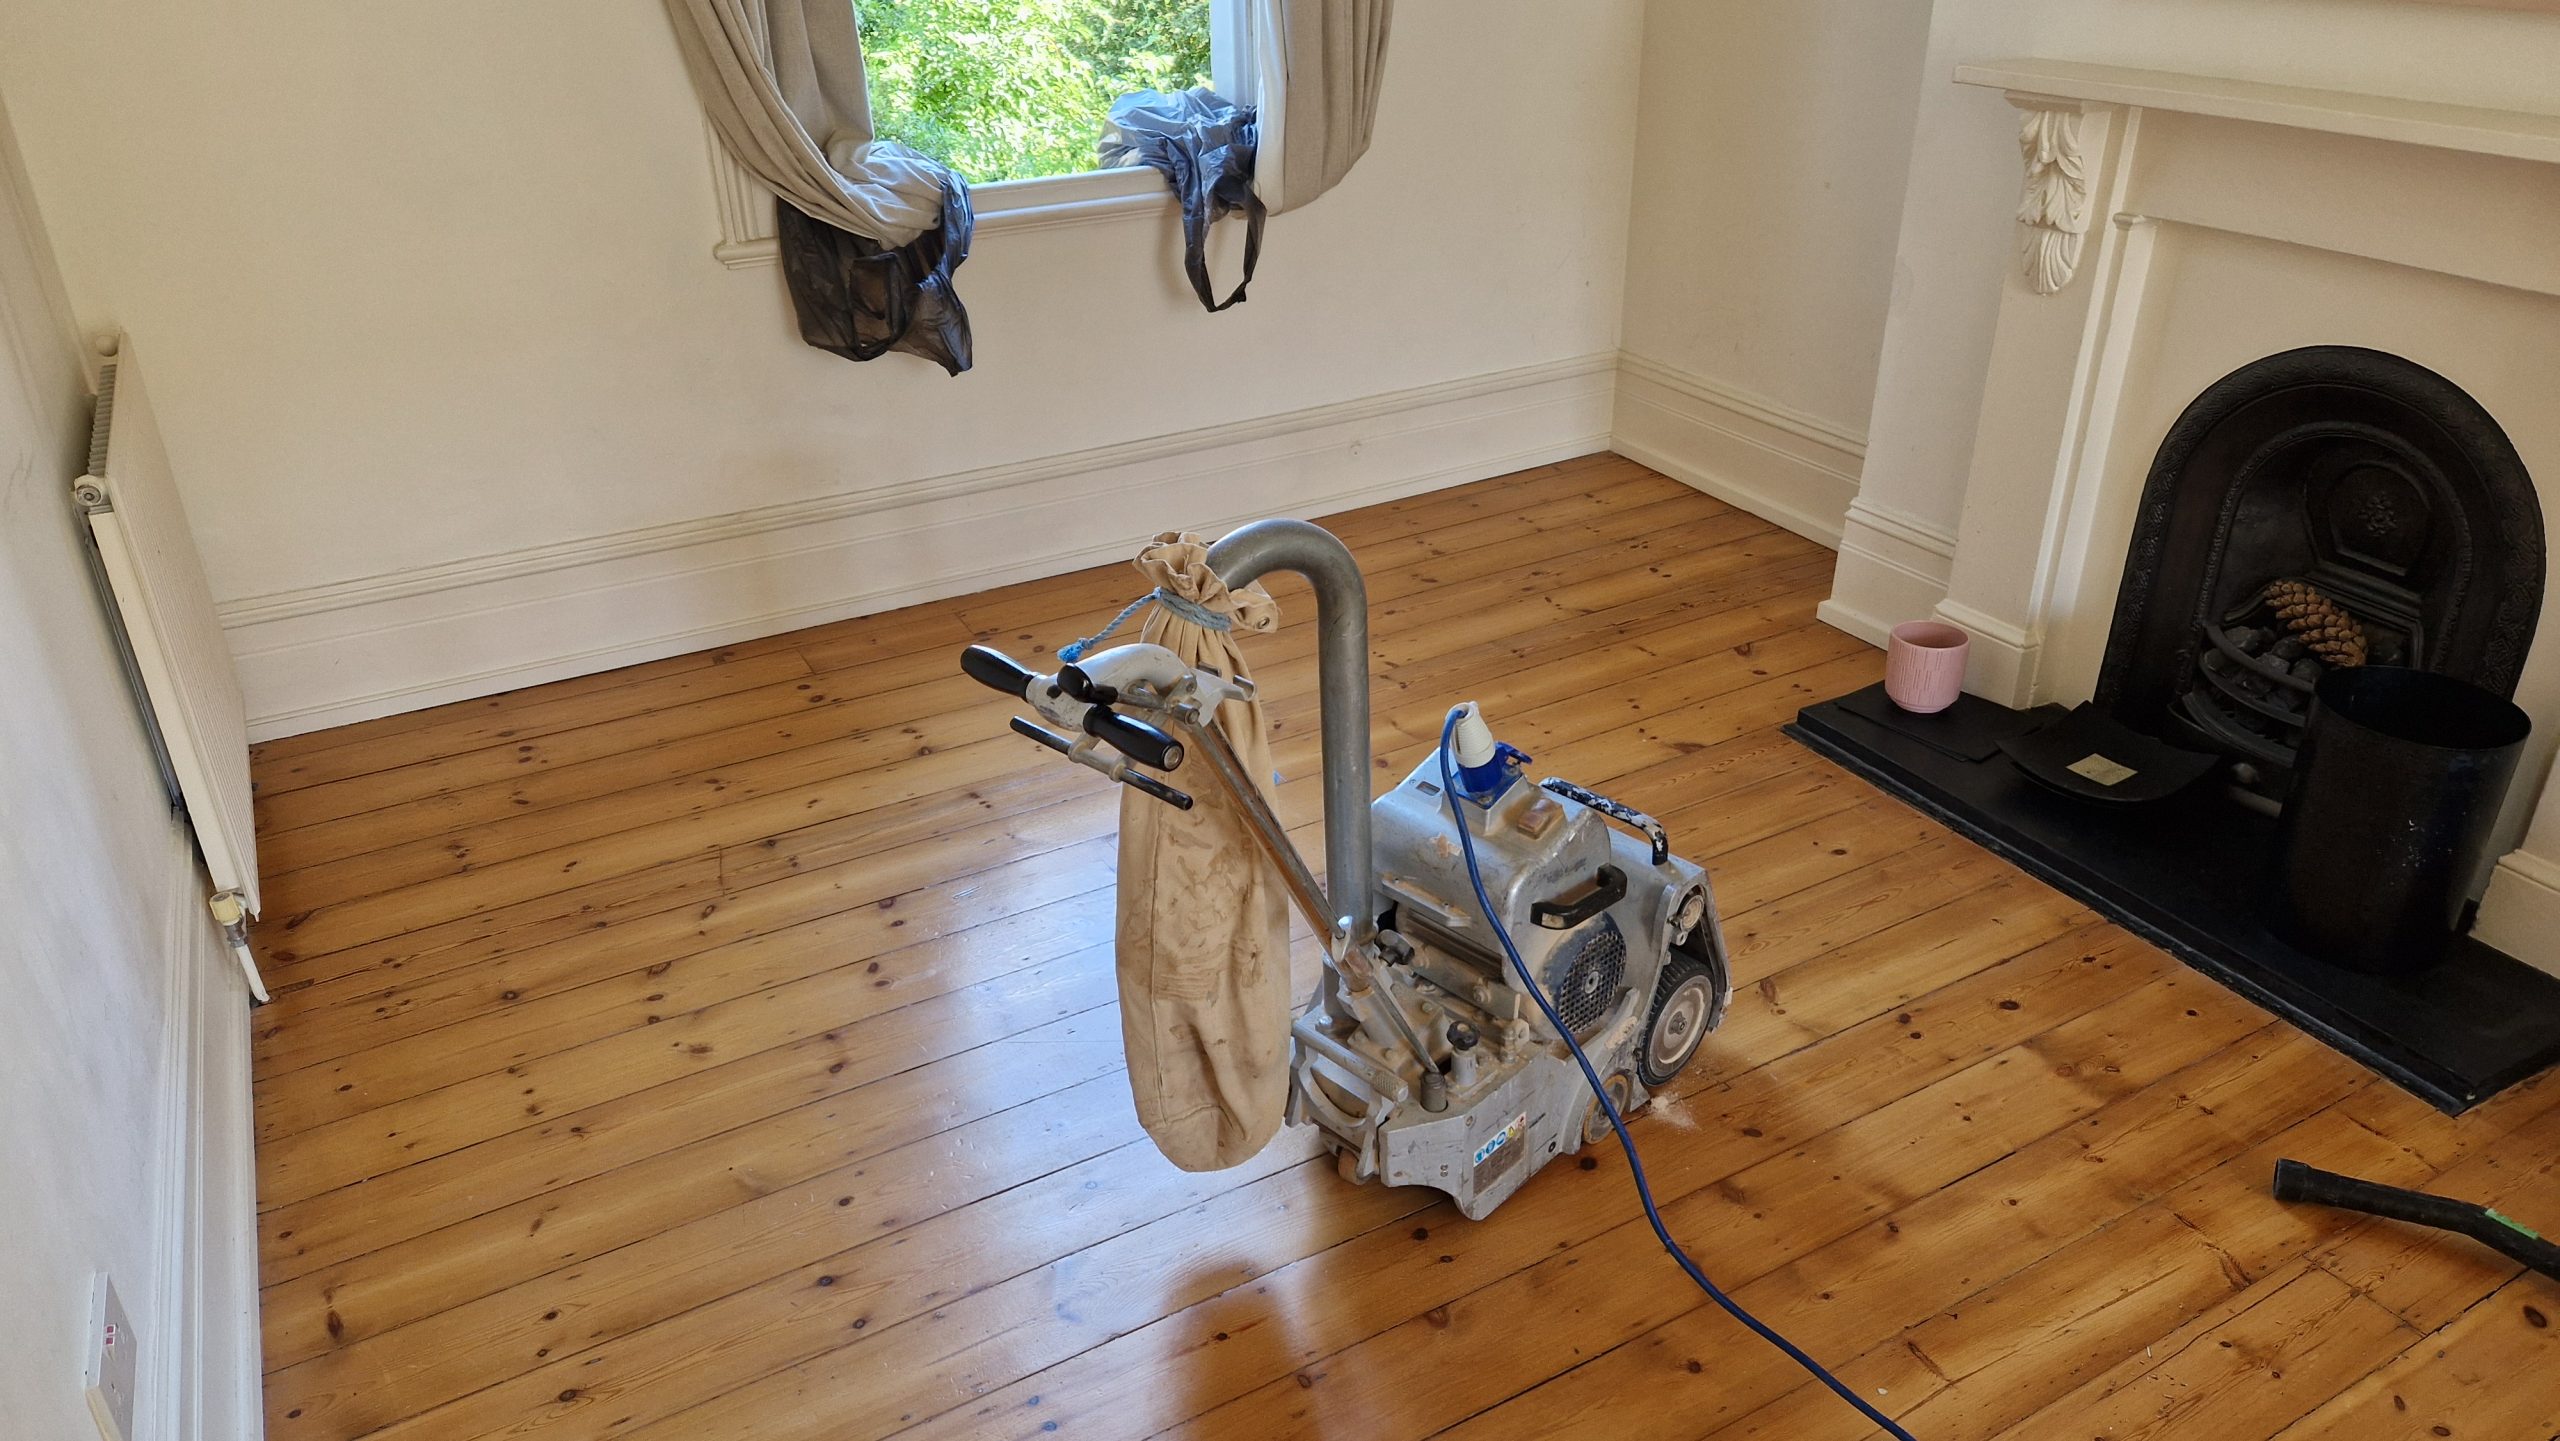
A Brief History of Floor Restoration
Timber boards have been sanded for centuries, but the techniques evolved dramatically with the advent of mechanised drum sanders in the early 20th century. In Britain, post-war housing renovations popularised large-scale floor refurbishment, replacing threadbare carpets with gleaming pine and oak. Modern equipment, clever abrasives and dust-extraction attachments have since made the job cleaner, faster and far more accessible to beginners.
What Is Wood Floor Sanding?
Put simply, it is the controlled abrasion of a timber surface to remove old finishes, level out wear, open the grain and prepare the boards for fresh sealant. Effective sanding progresses through several grit levels, each one refining scratches left by the last. The result is a silky-smooth base that accepts stain evenly and allows lacquer or hard-wax oil to bond securely for long-term durability.
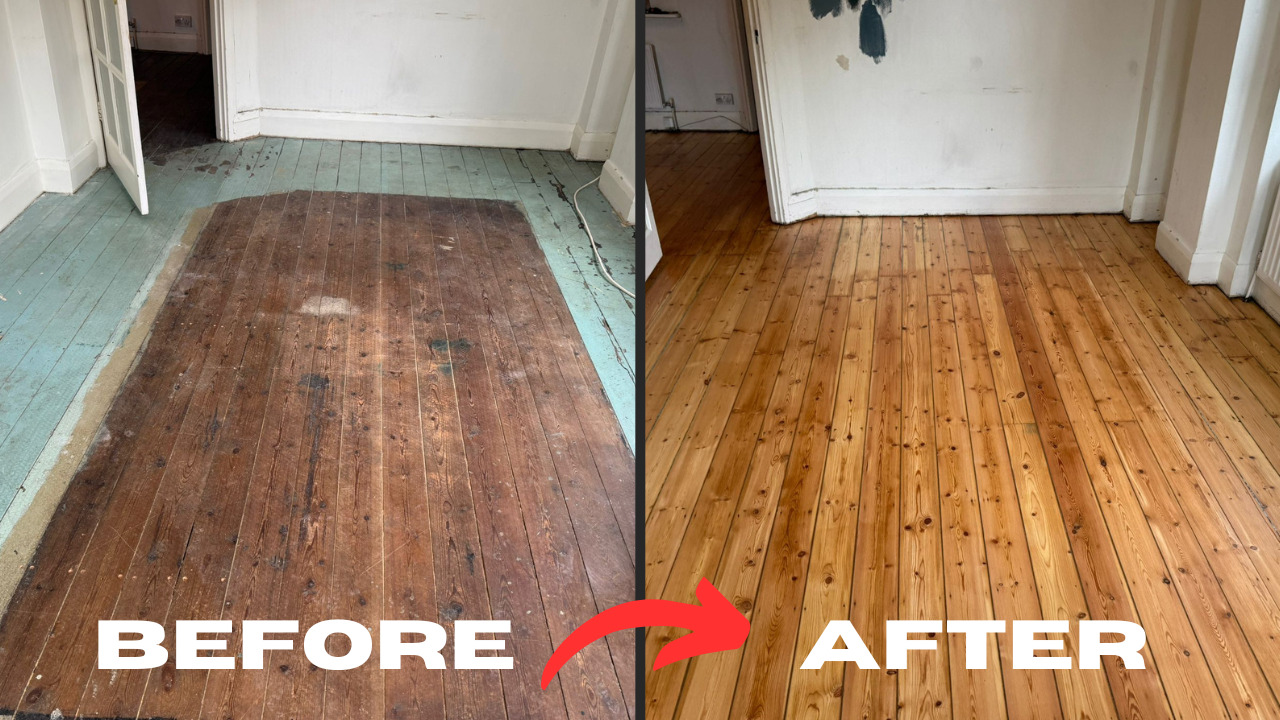
Assessing Your Floor Before You Begin
- Identify the timber – Softwoods such as pine need gentler handling than tough oak or maple.
- Check board thickness – Repeated historic sanding can leave era-boards perilously thin; you should have at least 4 mm of wear layer remaining.
- Seek hidden fixings – Protruding nails or loose screws must be punched well below the surface to avoid tearing sanding belts.
- Inspect for structural damage – Rotten joists, excessive cupping or pest activity should be addressed by a professional carpenter before you go anywhere near machinery.
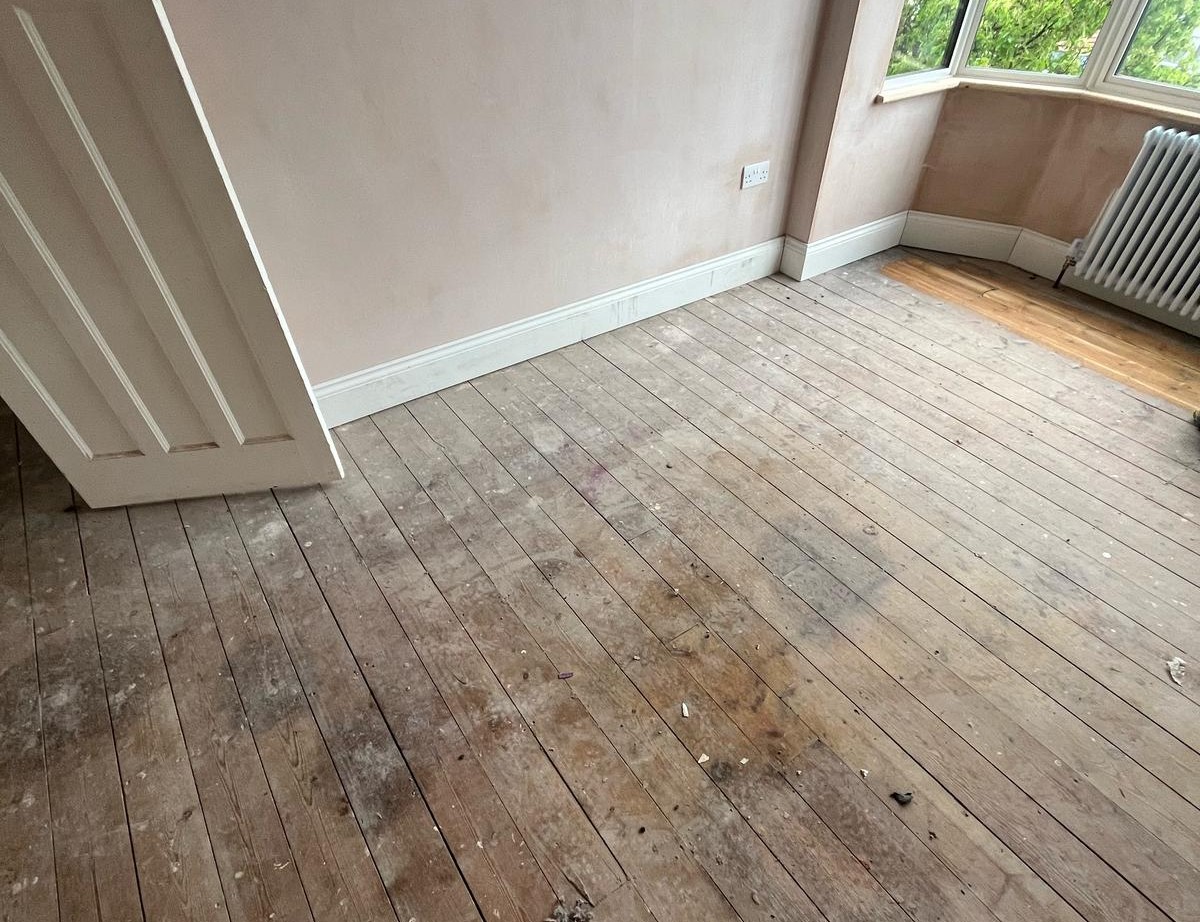
Gathering the Right Tools and Materials
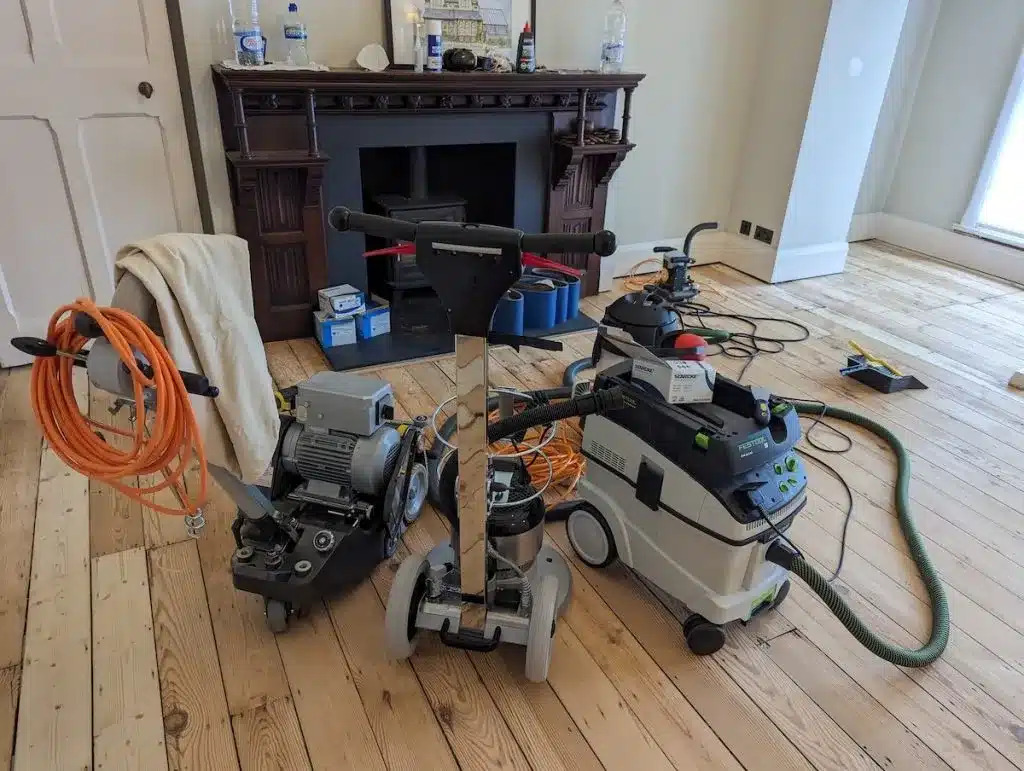
A successful job relies on choosing kit that balances power with control:
| Tool | Purpose | Beginner Tip |
|---|---|---|
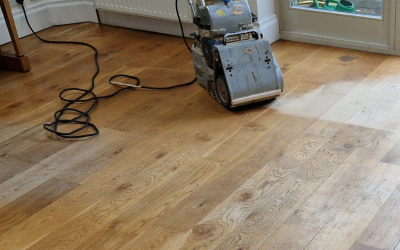
| Drum or belt sander | Rapidly removes finish on main floor area | Hire newer models with built-in dust bags to minimise airborne particles |
| Edge or detail sander | Reaches corners and skirting board lines | Practice on off-cuts first – these machines can dig divots in seconds |
| Random-orbit sander | Final blending pass and small repairs | Attach a soft interface pad to prevent swirl marks |
| Abrasives (24–120 grit) | Successive polishing stages | Buy extra medium grits – beginners often need an extra “insurance” pass |
| PPE (mask, goggles, ear defenders) | Personal safety | Choose FFP2 rated masks – sanding dust is ultra-fine |
| Vacuum with HEPA filter | Dust extraction between passes | Clear the surface thoroughly before each grit change |
The fourth grit change is the perfect juncture to repeat the floor, ensuring uniform scratch removal and preserving your limited quota of Wood Floor Sanding passes per lifetime.
The Step-by-Step Sanding Process
1. Preparation and Safety
- Empty the room, remove thresholds and tape plastic sheeting over adjacent doors.
- Mark any deep cuts or burn marks in pencil so you can check later that they have vanished.
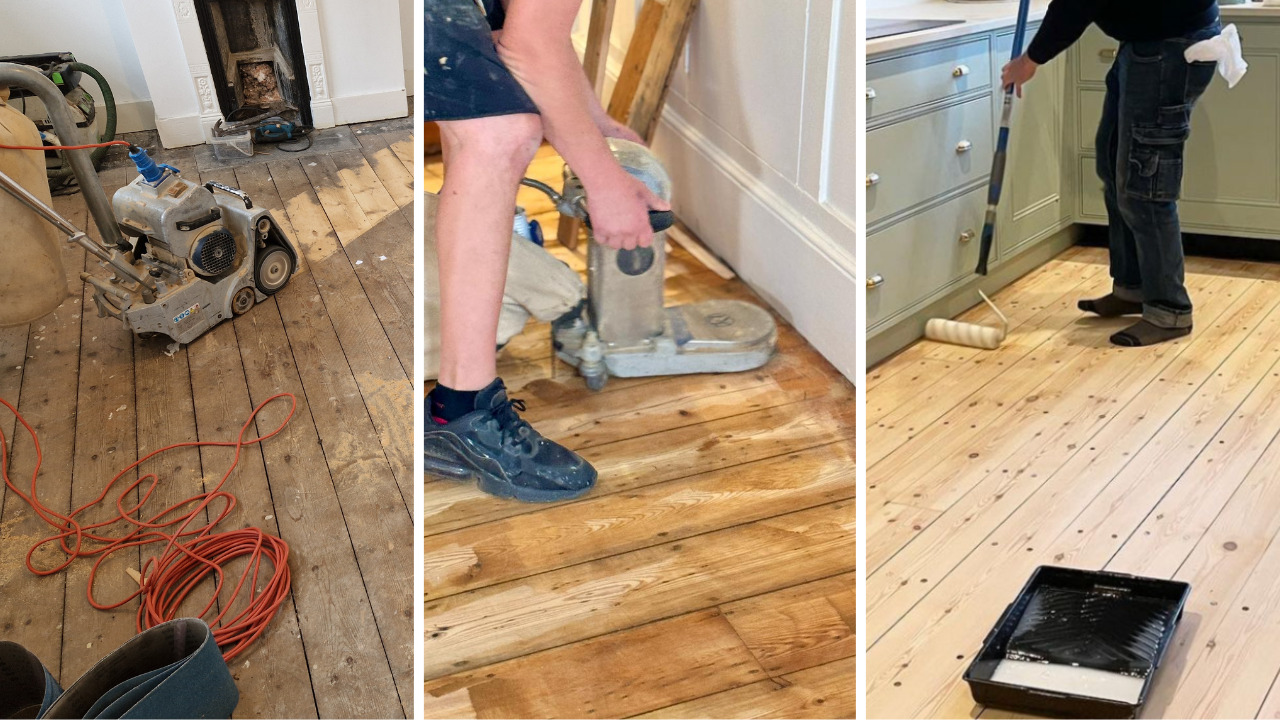
- Fit coarse 24- or 36-grit paper to the main sander; keep the machine tilted until the drum reaches full speed, then lower gently to the floor.
2. First Pass – Levelling
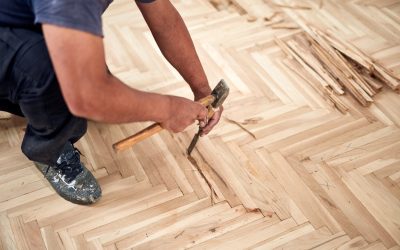
Work in the direction of the grain wherever possible. On parquet, sand at 45 degrees to flatten the blocks without catching edges. Overlap each run by half the drum width to prevent ridges. Vacuum thoroughly.
3. Intermediate Passes – Smoothing
Move up through 40 , 60 and 80-grit abrasives. Each pass should remove the scratch pattern of the previous grit without creating new gouges. At 60 grit, pause to punch any newly exposed nail heads and fill gaps with solvent-based filler mixed with fine dust from your vacuum.
4. Edge and Corner Refinement
Switch to the edge sander, matching the current grit number. Blend the overlap zone with a random-orbit sander to erase tell-tale “picture-framing”. Beginners often underestimate how much time patient edge work adds to the clock, so schedule generously.
5. Final Pass – Polishing
Fit 100- or 120-grit paper and make a slow, even run, feathering out on each board to minimise stop marks. The surface should now feel like silk under your palm. Vacuum twice, then wipe with a microfibre cloth dampened in white spirit to pick up stubborn dust.
Selecting the Perfect Finish
Your newly sanded boards need immediate sealing to block moisture ingress:
- Water-based polyurethane lacquer – Fast-drying, low odour and crystal clear; ideal for maintaining pale Scandinavian tones.
- Hard-wax oil – Penetrates deeply while leaving a breathable surface; enhances grain and is easy to patch-repair.
- Traditional shellac or wax – Historic charm for period properties, albeit with higher maintenance.
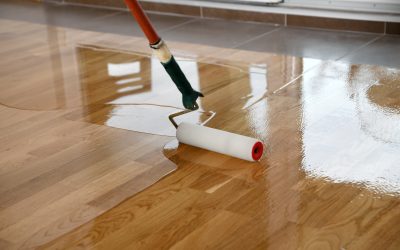
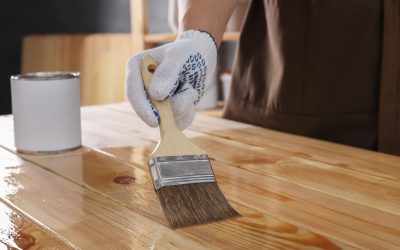
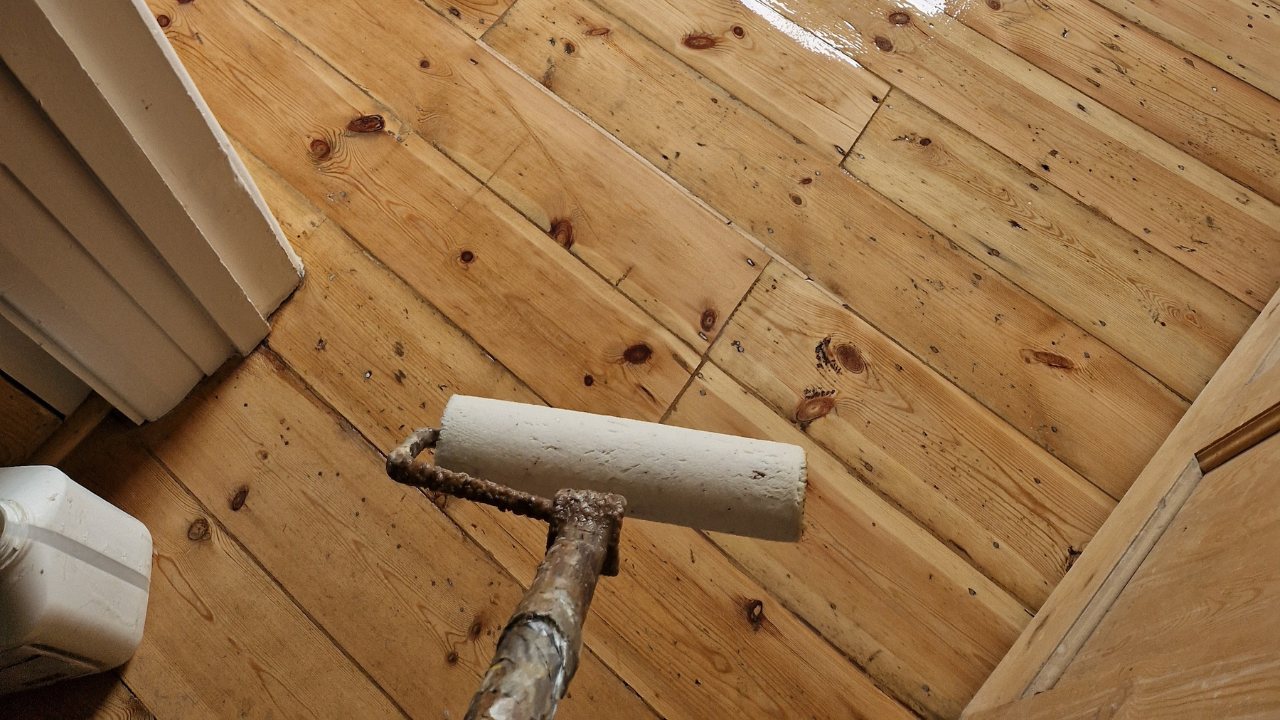
Apply thin coats with a high-quality roller or brush, observing manufacturer drying times. Lightly abrade with a 150-grit screen between coats to promote adhesion.
DIY vs Professional Services
Undertaking Wood Floor Sanding yourself can save hundreds of pounds and provide immense satisfaction. However, hiring specialists offers:
- Time efficiency – Pros can complete in one or two days what might take a novice a long weekend plus evenings.
- Industrial dust-extraction rigs – Superior air quality, essential in homes with children or allergies.
- Consistent finish quality – Years of experience minimise risk of dips, chatter marks and edge gouges.
- Warranty and aftercare – Most firms guarantee their lacquer for at least five years.
Balance these factors against hire costs, learning curve and your appetite for manual labour.
Caring for Your Newly Refinished Floor
- Wait before furnishing – Forty-eight hours for light foot traffic; seven days before laying rugs.
- Use felt pads – Chairs and tables should never scrape directly over the timber.
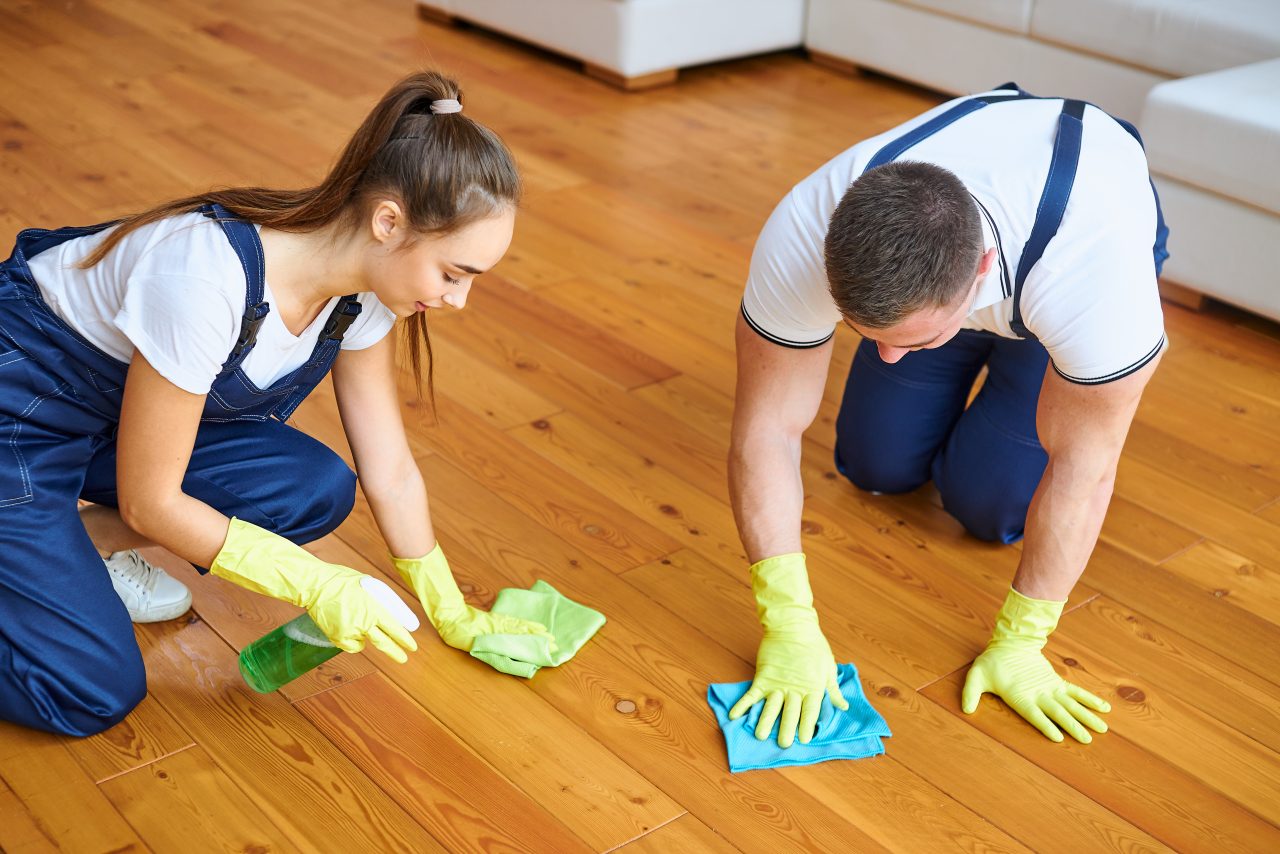
- Sweep, then mop lightly – A barely damp microfibre pad will lift grime; avoid soaking the grain.
- Refresh the finish – Apply maintenance oil annually or top-coat lacquer every five years, depending on footfall.
Common Mistakes Beginners Should Avoid
- Skipping grits – Jumping from 40 directly to 100 leaves deep scratches visible under gloss.
- Rushing the edges – Uneven sheen around skirting betrays amateur work.
- Letting the drum stop on the floor – Creates a nasty divot that may need professional re-levelling.
- Ignoring humidity – High summer moisture can raise grain between coats, demanding extra abrasion.
- Applying thick finish coats – Leads to drips, orange-peel texture and prolonged curing times.
Frequently Asked Questions
Q: How many times can a solid floor be sanded?
A: Provided the boards are a standard 20 mm thick, you can expect three to four full sanding cycles before you reach the tongue-and-groove. Engineered boards typically allow two.
Q: Do I need to remove skirting boards?
A: Not necessarily. An edge sander can reach within 5–8 mm of the wall; a sharp cabinet scraper or fine chisel will manage the last sliver.
Q: Which direction should I sand a plank floor?
A: Always parallel to the longest boards to minimise cross-grain scratches. For multi-directional parquet, start at 45 degrees across the blocks.
Q: Can I stain after sanding?
A: Absolutely – the freshly opened grain accepts pigment beautifully. Perform a water-pop (light mist) before applying dye to ensure even uptake.
Q: How loud is the process?
A: Drum sanders reach around 90 dB; ear defenders are essential, and neighbours may appreciate advance notice.
Conclusion
Mastering Wood Floor Sanding is a rite of passage for any hands-on homeowner. With methodical preparation, patience through the abrasive grades and respect for safety, even beginners can coax tired, splintered boards back to radiant life. Follow the guidance above, take your time and your floors will reward you with decades of warm character underfoot.